Here's a short photo essay of my latest shop project, a new cabinet to house paint's, oil, antifreeze etc.
First I put the cabinet on my yard cart and rolled it up to the house to give it a good pressure washing. Here it is, still wet behind the ears:

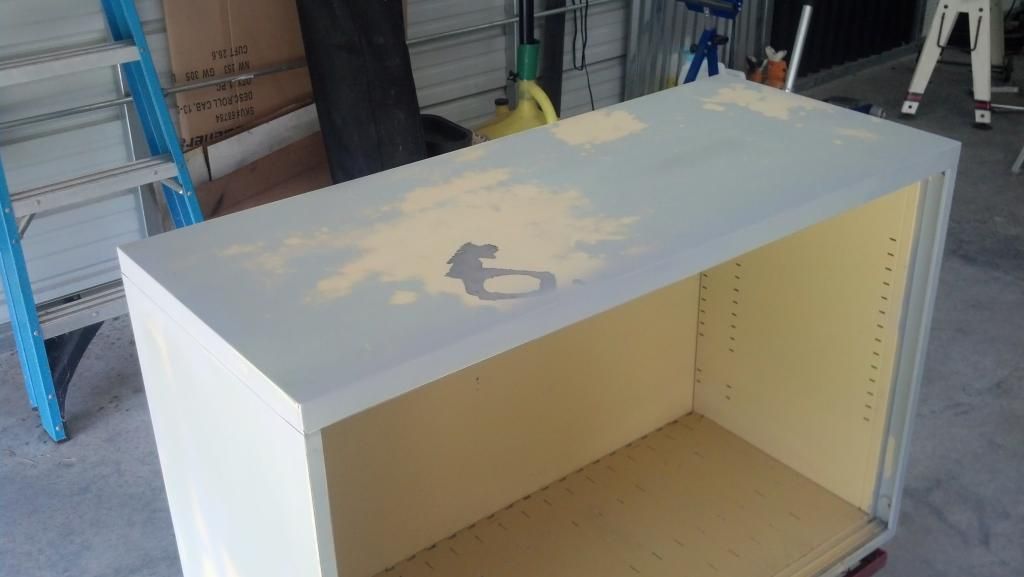
After it was clean I started the messy process of wet sanding the exterior with my DA sander and some 180 grit. Using water there is no dust, but it still makes a mess. After taking it back outside to wipe of all the sanding mess I rolled it back inside as seen here:
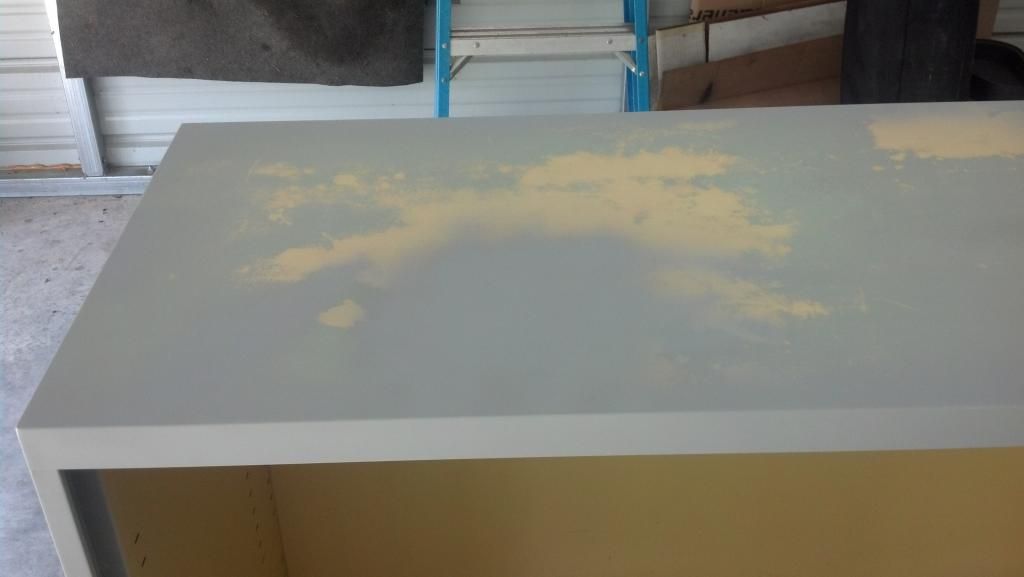
As you can see in the above pic, a few spots were down to the bare metal so I had to spot prime those areas to level the surface:
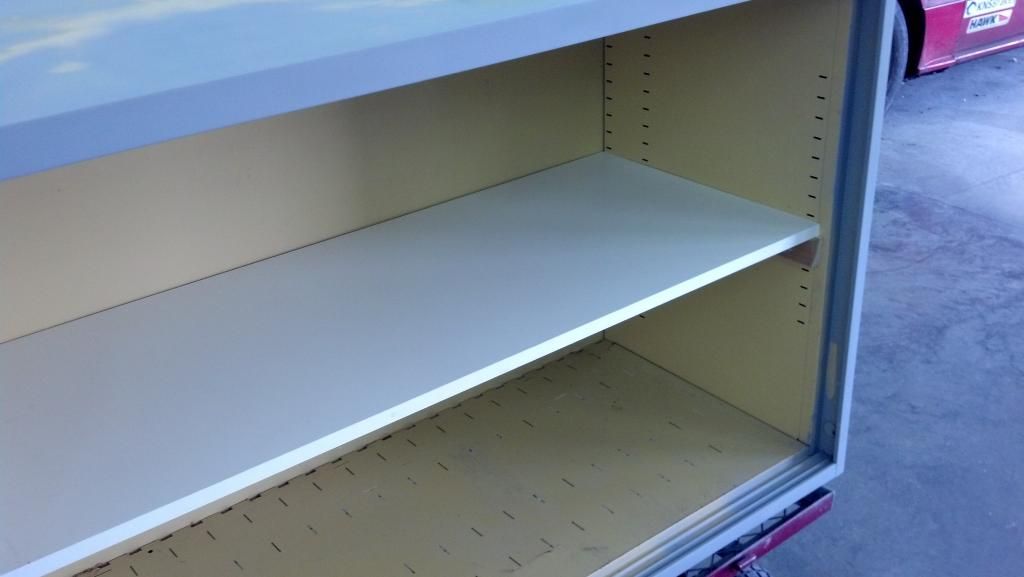
The metal shelf that came with the cabinet was bent and not very strong. I decided to replace with a 3/4" thick melamine-covered one which would be impervious to spills. To support the shelf I added two cleats:

The new shelf resting in it's place:
Next was hinges for the new doors. This cabinet originally had sliding doors, but I'm not a fan of those so I decided I build a pair to match my other cabinets.
I decided to use self-closing hinges this time, and of course it's never easy. I had to weld four tabs inside the cabinet to have places to attach the hinges. Yes, I could have simply welded the hinges in place, but there is a reason most hinges have adjustments, and that reason is doors can be a bitch to align. I left the adjustments, and I needed them! Here's tab #1 in place:

With the tabs in place, I drilled for the hinges and mounted them temporarily:

Using some 1"x2" Poplar and my Kreg jig for the pocket holes, I built two door frames. No need to have the complete the entire door assembly at this time as it's much easier to fit and align the frames alone. Door frame#1 is attached to the hinge:

With both door frames in place, partially open:

Now's when that hinge adjustment becomes necessary. To achieve a proper even gap I had to adjust both sides with shims, but in the end they line up really nice:

Since all the 'fitment' was done, it was time for some paint. I removed the door frames and hinges first, then wiped everything down before proceeding with the primer. After three coats it looked like this:


To get ready for the signature blue topcoat, I wet sanded the primer with 220 grit since primer is flat and pretty grainy feeling. After three coats of paint:


After it's dry I removed the masking:


I added the back panels to the doors and gave them three coats of paint:

Next I added the corrugated panel inserts to the doors:

Next I was finally ready to hang the cabinet doors. It took a while to get the hinges and spacing adjusted correctly, but once it was done, the doors fit really well.
All that was left after hanging the doors was fabricating the custom pull handles. I decided to use a cam gear from the old B21 parts car engine. The plan was to cut it in half and mount each half on a door so it would look like one piece when the doors are closed.
After I cut the gear in half, I cleaned up the sharp edges with a wire wheel and mocked it up on the doors. Here's where it stands with the doors and handles mocked up in place. I'm not sure why this pic came out so blurry.

Here's a close-up of the handles. Note I held the doors open slightly so you could see the two halves, but the door gap is really nice and tight with them fully closed as seen it the above pic.

It still need to paint the handle pieces tonight, but once that is done it should be ready to be put into service.


 [/QUOTE]